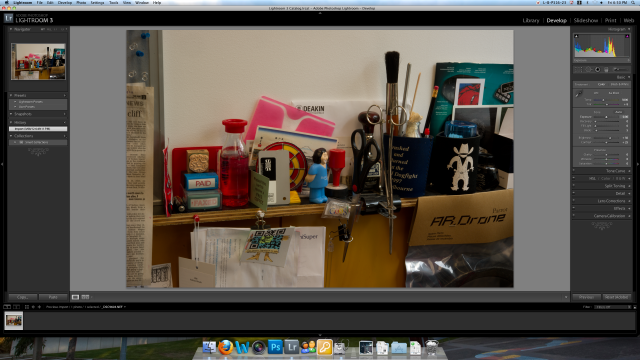
Due to the first assignment ‘Not all same’ is aimed to compare between each software application for editing digital images. Here attached the differences of theselected applications and the samples of images that edited in each applications.
Aperture:
The ‘Histograms’ intend simpler with primary color tonal range and the brightness average. The use of 256 level tonal range to get a neutral color temperature is quite different by presenting R G B and L, most of time the amount number of G and L always the same. The uses of ‘Curves Adjustment’ are too simple and only change the light and dark area, which could impact the photograph, looks grainy. I found it strange that use of ‘Highlight and Shadows’ function is like a ‘Recovery’ and ‘Black’ function in Lightroom, but this one does not influence the curve adjustment. Then the use of ‘Sharpening’ is not as good as adobe products (Camera Raw & Lightroom), in Aperture the sharpening tools only my dominate the black line which makes the photographs looks harshly sharp and unrealistic. Come to the interface design of how Aperture appears as the most user-friendliness than other application.
Adobe Lightroom:
The histogram looks more complex because it represents the ‘Black’; ‘Fill Light’; ‘Exposure’ and ‘Recovery’. The use of 256 level tonal range to get a neutral ‘White Balance’ easier than Aperture and Camera Raw because Lightroom get its own percentage average for tonal range, but the color temperature intend looks warmer because the dark area/shadow on the photograph dominated by yellow color which looks more natural. The uses of ‘Curve Adjustment’ also using the average percentage number and most the function like ‘Black’; ‘Light’; ‘Highlight’, ‘Black’, etc are gave impact to the tone curve. The uses of ‘Sharpening’ tool is more efficient and sharply smooth and detail because based on my observation, Lightroom sharpening effect has it own arrangement by using the average percentage of color group that has the same tonal range and it sharpen the dominate color of group and unified the average pixel by expanding ‘Radius’ and the softness by expanding the ‘Detail’ which result less noisy and smoothly sharp.
Adobe Camera Raw:
The ‘Histogram’ been very helpful just like Lightroom, it always changes as we made an adjustment to the related functions. The 256 level tonal range works well, even though it is very tricky, but so far I think Camera Raw produce the closest neutral color temperature because as the highlight and shadow area has the grey color which intend the photograph looks neutral color temperature. As well as the ‘Curve Adjustment’ more suitable and specify with each elements and functions, even Camera Curve has two ways to adjust the tone curve which by ‘Parametric’ and ‘Point’. The use of ‘Sharpening’ tools is work similar with Lightroom, but Camera Raw result has more contrast than Lightroom nor Aperture.
Conclusion:
By processing raw files through three raw files processor, I found it is very convenient, practical and accessible to use Lightroom for daily use and Camera Raw for specific editing. From what I observed, the dark tonal range in Aperture has more magenta color which makes the photograph cooler looks digitalize, while Lightroom has more yellow color that makes the photograph warmer looks natural and Camera Raw has more grey color intend the photograph looks neutral.


